We always look for interesting DIY projects here at DIY For Everybody and lately we have been looking around for some flooring ideas because we need to update a kitchen floor
We heard about this and our first reaction was “She did what with Paper Bags ?”
Needless to say this piqued our curiosity and we went on the hunt for this technique. It turns out that you can virtually use any kind of paper to get any sort of effect. The one used over at Instructables was done with the use of paper bags, cut into shapes, crumbled and then smoothed then crumbled again. The Results are amazing .
Other techniques used brown construction grade paper, newspaper.. etc..
Over On page 2 We are going to give you the quick blush of this project and how it is done You Will Need:
1: Several cheap brushes (some call them chip brushes–but that is another story)
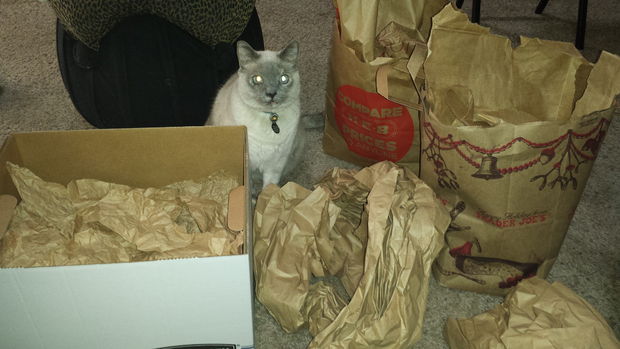
2: Paper Bags, or whatever other material you wish
3: White glue
4: Poly Urethane
5: Masking Tape — we prefer blue painters tape


P.S. The Cat Is no Help at all !!
The Cat does provide amusement with the brown paper bag balls though..
The next step is to prepare the floors which you are covering..
You can either remove the tile if possible or just go over the existing tiles or flooring if it is sound and adhered well.

Personally, I would do a little roughing up of the surface if you are going to go over the existing floor.
NEXT STEP : Prepare the paper ..
-
Rip your paper into small pieces. I tried to use the pieces that didn’t have any print or only had light print. (Be sure to put the print side down on your floor, unless you want it facing up.)
-
Separate your pieces with straight edges from the pieces that are non-edged.
-
Put on a show, or a movie, or better yet hit that entire season on Netflix you’ve been meaning to catch up on. (You’ll be here awhile, unless you can sucker in some minions. If you have kids, even better. I’ve found the cats and the dog really don’t cooperate well when given tasks.)
-
Crumple every piece.
-
Straighten every piece out and then crumple it again.
-
Straighten every piece out and then crumple it one more time, just for good measure.
-
Massage your hands, you deserve it!
STEP 4 : START THE DECOUPAGE
This is where the fun starts!
- Tape off your floorboards, counters, anywhere you DON’T want to get messy.
- Take your white glue and mix it 50/50 with water (the stuff from the tap is fine) and blend it well.
- Using a paintbrush, “paint” the back of your first piece of paper with the glue (découpage) mixture. (Don’t start with the edge pieces, start with the “floating stones” first.)
- Place your paper where you want it on the floor and paint over the top of it with the découpage mixture.
- Repeat until you have covered the floor, but don’t have any overlapping “stones” on the floor.
- Wait for it to dry.
- Once dry, give it a coat of polyurethane.
(Notice the “texture” the crumpling gives the “stones.”)
(Once Again…. Pro Tip: DO NOT polyurethane the paper, it turns the paper “crispy” and translucent, and you don’t want that.)
AS YOU PROGRESS THIS IS WHAT IT WILL BEGIN TO LOOK LIKE :

To See the complete step by step instructions and pictures of how to, Go to : Instructables.com
Article Source : Instructables.com
Pictures Source : Instructables.com